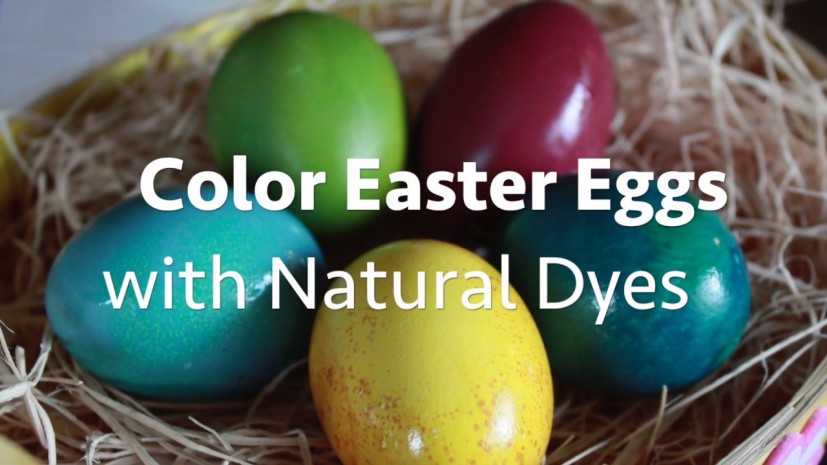
Color Your Easter Eggs with Homemade Natural Dyes
Coloring Easter eggs is a fun spring tradition, but do you really know what's in those commercial dye kits that you pick up at the supermarket? Dying your Easter eggs with your own homemade natural dyes is easier than you think, and the results can be really beautiful. You'll find plenty of recipes and formulas out there, some of which work better than others.
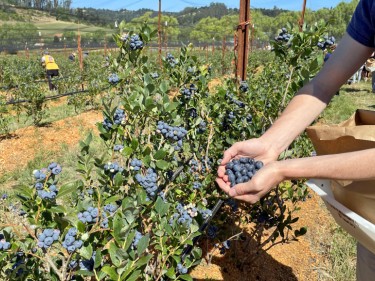
Over the years, we've experimented with various mixtures and figured out a few that really work well. You can make these plant- and food-based dyes with many of the things that you have on hand in the pantry or refrigerator, or can pick up at the grocery store or farmer's market, so why not give it a try?
When we do this our kitchen becomes part art studio and part mad scientist's lab. The process is similar for each dye: mix up a natural color source with water, white vinegar and salt, simmer it to extract the color, and dip in your hard-boiled eggs. The results take more time than your standard Easter egg coloring kits, so patience is a virtue here. Our kids always spend quite a bit of time hovering over the dye bowls wondering if they're ready. "Not yet" is usually the answer.
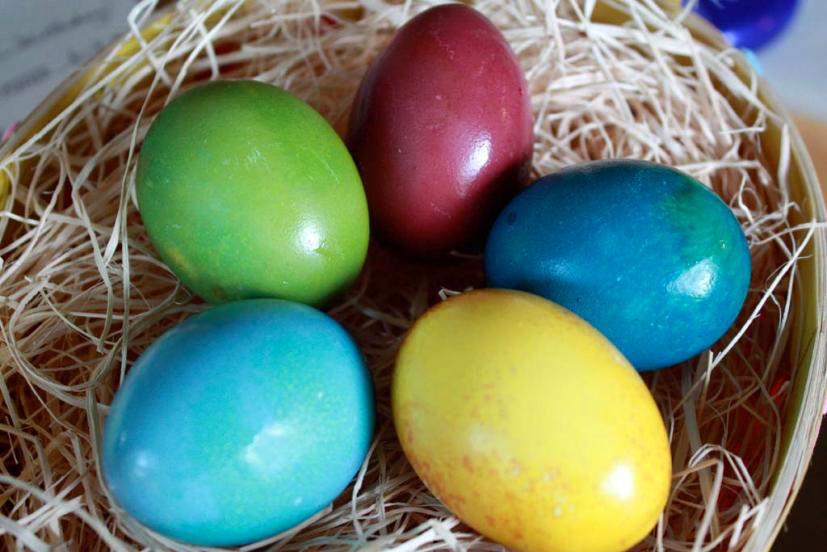
We use purple cabbage to make a blue dye, beets for pink or red, and turmeric for yellow. Since these are the three primary colors, you can make pretty much any other color in the spectrum by using a combination of them. Once we tried using spinach for green and coffee for brown, based on some recipes we found on the Web, but neither worked very well.
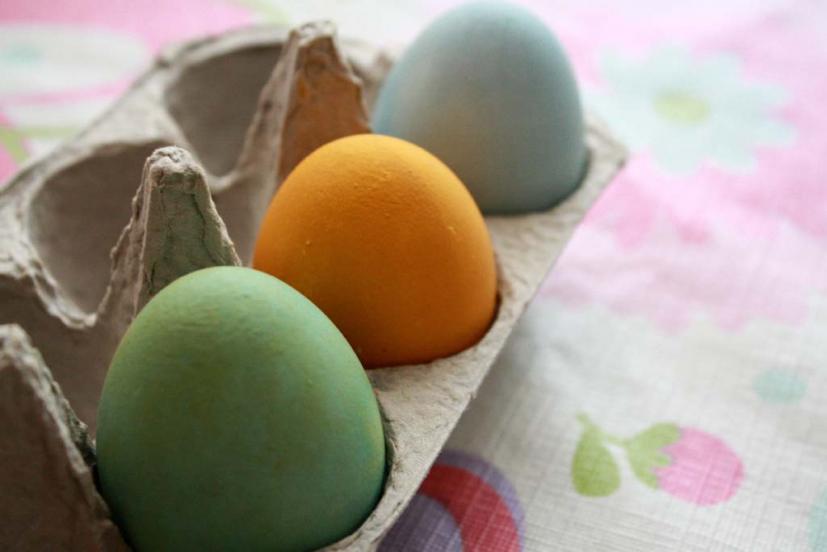
This project is fun to do and the colors are unusual and more earthy than those from chemical dyes. Your house does get kind of stinky from things like cooked cabbage and vinegar, but in the end it's worth it. Some of the colors fade very quickly, especially the red. Overall, the yellow and blue dyes really worked well. We make a really pretty green color by overdying a yellow egg in the blue dye. The red dye produces a beautiful deep color, but, unfortunately, it changes to a dull red-brown after a a day or two.
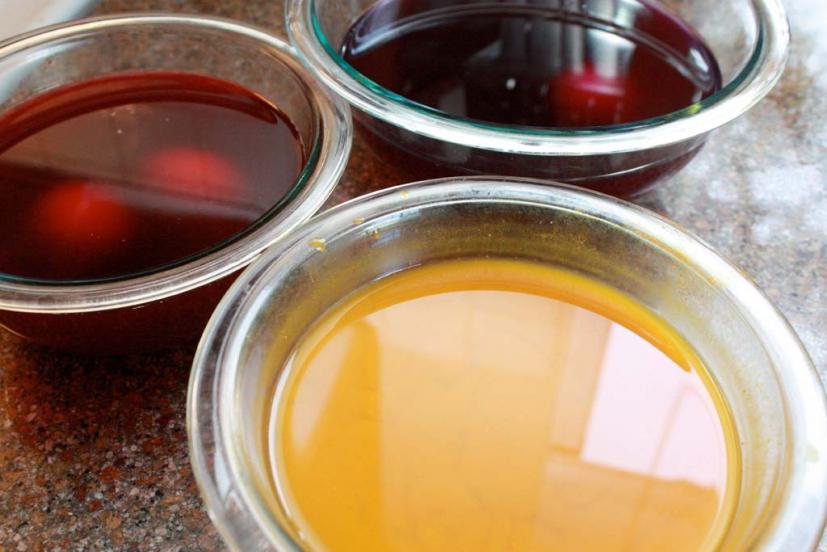
All of our dye recipes use three cups of water, 1/4 cup of white vinegar, and a teaspoon of salt, in addition to the dye materials. Bring each mixture to a boil and simmer for 30 minutes to make the dyes.
To make blue dye, add half a small head of purple cabbage, chopped; for red, use two coarsely shredded raw beets; and for yellow, use two tablespoons of turmeric powder. Let each mixture cool before you add your hard-boiled eggs.
Leave your eggs in the dye for 30 minutes to a few hours, or even overnight. You'll get deeper, darker colors with prolonged soaking in the dye. When the color is to your liking, remove the eggs and let them dry—a good place to do this is in an empty egg carton. For a fun variation, try wrapping kitchen twine around an egg, or create a leaf pattern by putting a leaf on an egg, then wrapping it in cheesecloth before you put them in the dye.
Try not to handle the drying eggs, as the color may rub off while it's still wet. The finished eggs have a elegant pastel quality to the color, but if you want to make them brighter and more vibrant, gently rub them with a tiny amount of vegetable oil.
This project is not only fun, but also makes you feel good about using natural ingredients this Easter. Plus, your eggs wont look like anyone else's! Need some more direction? Click the image below to watch a video we made about natural egg dying for our YouTube channel.