A Family That Eats Together: Homemade Vanilla Marshmallows
 Marin Mommies presents this week's guest recipe from Nicole Cibellis, Marin mom and author of the blog A Family that Eats Together, where she shares meal plans and recipes that will please foodies and children alike.
With it being summertime, we spend a lot of time camping, which means that making smores are a essential, warm and gooey treat as the sun goes down. For years, I have bought the standard marshmallows from the store but I have never loved them. They are always a bit hard and not very tasty so, I thought it was time to make some homemade marshmallows as a special treat. The thought of making marshmallows may seem like too much work but it is really quite easy. I have noted some tips below to help. Try these on smores, with ice cream or your favorite hot drink.
Tips:
- Read all the directions first so that you are prepared for each step.
- The easiest way to prepare for making marshmallows is to have everything ready ahead of time. The process goes fast once the sugar mixture is ready and you need to be ready with everything else so that the marshmallows come together correctly.
- Have a candy thermometer at the ready.
- Make sure to line your baking pan with parchment paper and dust it with confectioner’s sugar. The sugar helps the marshmallows from sticking.
- Keep more confectioners’ sugars at the ready for extra dusting.
- Use a heavy kitchen mixer to do the mixing for you so that you have both hands to handle the hot sugar mixture.
- Use a heavy bottom medium saucepan to make the sugar mixture, as it gets very hot and will melt anything it comes in contact with.
- After you are done making the marshmallows, immediately soak all the cooking utensils and pans in warm soapy water to making cleaning easy.
- Homemade marshmallows will store in an airtight bag or container for 1 week at room temperature.
Servings: 2 dozen 1-1/2-inch marshmallows
Prep time: 15 minutes; sets overnight
Ingredients
- 2 ½ packages (2 ½ tablespoons) unflavored gelatin
- ½ cup cold water
- 2 large egg whites
- confectioners sugar
Sugar mixture
- ½ cup cold water
- 1 ½ cups granulated sugar
- 1 cup light corn starch
- ¼ teaspoon kosher salt
- 1 tablespoon good vanilla
Directions
- In the bowl of a large kitchen mixer, fitted with the whisk, pour in gelatin and ½ cup cold water. Let sit for 20 minutes.
- When the gelatin is ready, heat a large heavy saucepan over low heat. Add ½ cup water, sugar, corn syrup, salt, and vanilla. Stir the mixture until all the sugar is dissolved. When it is dissolved, cover the saucepan with a lid for a minute or two to make sure any sugar on the sides of the pan dissolve. Remove the lid and bring the mixture to a medium-high heat so that it is continuously boiling. Use a candy thermometer (making sure that it is not touch the bottom of the pan) and when it gets to 240ºF it is done. This can take up to 10 minutes. Remove from heat. This is where you need to be ready with everything else.
- Using your kitchen mixer, whip the egg whites and gelatin at high speed until the egg whites form stiff peaks. Turn the mixture to low and slowly add the sugar mixture in a slow stream between the whisk and the side of the bowl. When it is completely added turn the mixture to high and let it whip until it forms a marshmallow mixture. This can take 10 minutes. The mixture will double in size from where you began.
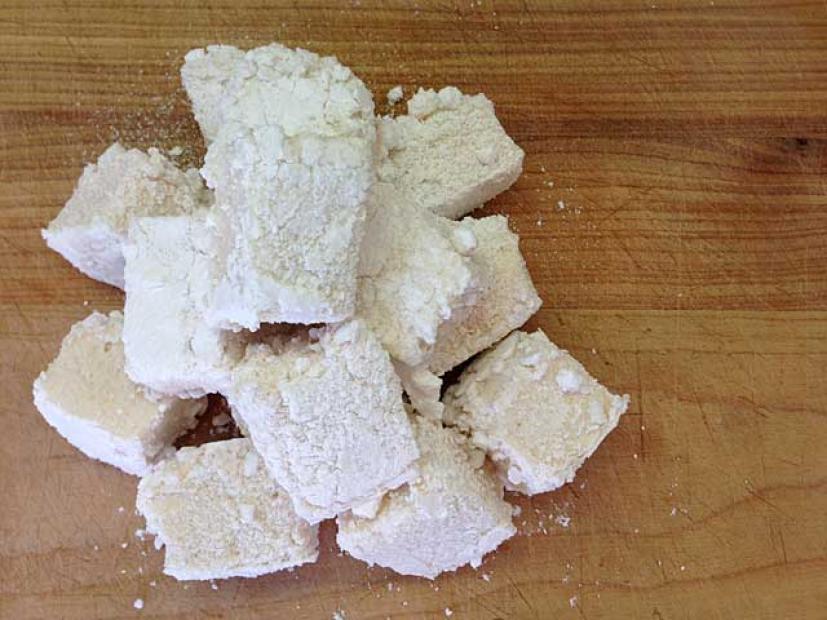
- Pour the marshmallow mixture into the prepared baking pan. Using a spatula spread the mixture so that it forms a flat surface. Dust the top with more confectioners’ sugar. Let it set over night uncovered. The next day, flip the pan over onto a parchment paper lined cutting board. Cut into the squares and serve.
*note: If you would like colored or flavored marshmallows add the coloring and flavoring at the time of the vanilla.